A move in checklist for your first week in a new house
A practical move into new house checklist for your first week. Learn how to secure the doors, find shutoff valves and transfer the utility accounts.
 Reported by Jolene Imhoff
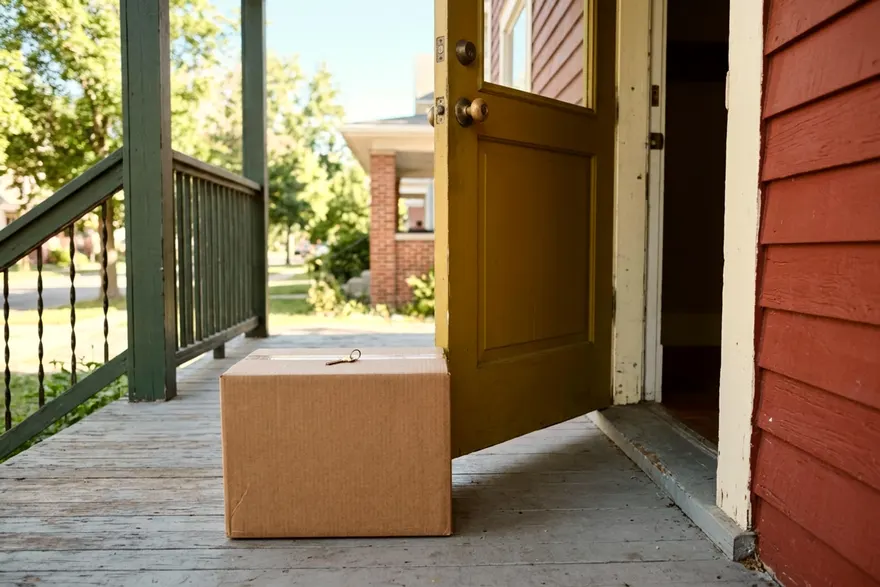
Keys are in your hand and boxes are waiting on the porch. A smart move into new house checklist starts with safety and basic function during the first week. Give the decorating a rest for a few days to handle the locks, the shutoff valves and the paperwork.
Secure the exterior doors and change the locks
The previous owner handed over their keys, but you have no idea who else has a copy. Neighbors, dog walkers and contractors might still carry a spare. Securing the doors is the top priority in week one.
You can buy matching hardware sets at the local home center or call a locksmith to rekey the existing cylinders. Ask the locksmith whether rekeying suits your existing handles and deadbolts. The locksmith changes the inner pins so the old keys no longer turn the lock.
If you replace the hardware yourself, follow the lock maker's instructions and keep a screwdriver and a tape measure handy. Measure the distance from the edge of the door to the center of the hole. Buy a new deadbolt and handle set that matches this spacing.
Do not forget the secondary doors. The back patio door, the side garage door and any sliding glass doors need attention. Ask a locksmith or the door maker how to secure a sliding door from the inside. Reset the keypad code on the garage door opener right away.
Locate the shutoff valves for water, gas and electricity
A burst pipe or a sparking outlet requires fast action to prevent damage. You need to know exactly how to cut the power, gas and water before an emergency happens. Take a flashlight and tour the basement, the garage and the exterior walls.
Find the main water shutoff first. Look for a thick pipe entering the house from the street, usually through the concrete foundation in the basement or a utility closet. The valve might be a round wheel or a straight lever, and a plumber can check it if it feels stuck.
Next, find the electrical panel, a gray metal box usually found on a basement or garage wall. Open the door and check the breaker labels. If they are blank or scribbled over, plan an afternoon to map the circuits by turning on all the lights, flipping a breaker and noting which rooms go dark. The main breaker at the top shuts off power to the entire house.
Locate the gas meter outside. The main shutoff valve sits on the pipe running into the meter. Ask your gas utility to show you where the shutoff is and what to do if you smell gas.
Inspect and test the smoke and carbon monoxide alarms
A working alarm system buys you time to get outside if a fire starts. You should check the existing devices on day one and replace any that look yellowed or broken.
Smoke alarms belong inside and outside each bedroom and sleeping area and on every level of the home, including the basement, per the US Fire Administration. Walk through your rooms and count the devices. If a bedroom lacks an alarm, buy and install a new one to meet that standard.
The US Fire Administration says to test each smoke alarm once a month. Push the button on the cover and wait for a loud beep. If the sound is weak or the device stays quiet, replace the battery if the alarm takes one, or replace the alarm.
Age matters just as much as battery life. The US Fire Administration says to replace the whole smoke alarm every 10 years. The 10 years count from the manufacture date, so check the alarm for it. If the date is past that limit, or you cannot find one, replace the unit.
Carbon monoxide is an invisible gas that builds up from fuel-burning appliances such as furnaces, water heaters and stoves. The CDC says to check carbon monoxide detector batteries when you change your clocks each spring and fall. Mark those dates on your calendar.
These detectors wear out over time as well. The CDC says to replace a carbon monoxide detector following the manufacturer's instructions or every 5 years. Check each detector for a date or the maker's instructions, and swap it out if it is too old.
Transfer the utilities, trash and mail to your name
The lights and water might be on when you walk in, but the billing accounts need your name attached. The previous owner may have scheduled their services to disconnect around closing.
Call the local water district, the power company and the gas provider to give them your closing date and set up new accounts. Next, schedule your internet installation. Providers can book appointments well ahead, so call them before you actually move your boxes to have service ready when you unpack.
Trash collection requires a call to the city or a private waste management company. Ask about their pickup schedule and order the correct bins for household trash, recycling and yard waste. Find out what day the truck comes and where to leave the cans. Some towns require bins at the curb, while others pick them up from the alley behind the house.
Go to the postal service website and set up mail forwarding from your old address. Update your mailing address with your bank, your employer and the department of motor vehicles. Change your billing address on your credit cards to avoid declined payments at the hardware store. Update your vehicle registration and driver's license within the time frame your state requires.
Walk the empty rooms to spot leaks and strange smells
An empty house reveals stains and drafts that furniture usually hides. A careful final walkthrough before the moving truck arrives gives you a clear baseline. Take a notepad and walk slowly through every room.
Check the plumbing first by turning on every faucet in the bathrooms and the kitchen. Let the water run for a few minutes while you look underneath the sinks with a flashlight. A small drip from a loose pipe fitting can damage the cabinet base. Flush all the toilets and watch the base on the floor for any water seeping out.
Look up at the ceilings for brown water stains, especially below an upstairs bathroom or right under the roof. Check the baseboards and the lower drywall for soft spots. Run your hand along the walls near the windows to feel for cold air coming in.
Trust your nose. A musty smell in the basement can point to moisture. A sharp smell near the stove is a reason to call your gas utility. Note any lingering pet odors in the carpets.
Open and close every window and interior door. A door that rubs against the frame might just need the hinges tightened. A window that refuses to slide up could need a bit of track lubricant or a replacement sash cord. Make a list of these minor annoyances so you have a record of how the house behaves.
Gather your closing papers and appliance manuals
Paperwork piles up fast during a move and important documents easily get lost in the shuffle. Dedicate one box or a specific kitchen drawer to hold the records for the property.
Store the closing documents, the property survey and the deed in a fireproof lockbox. You will need these papers when property tax season rolls around or if a boundary dispute comes up with a neighbor. Print out the contact information for your real estate agent, your mortgage lender and the title company and keep it with the documents.
Hunt down the manuals for the large appliances. Open the refrigerator, the dishwasher and the oven to find the model numbers printed on the inside frames. Look at the water heater and the furnace in the basement. Write these model numbers down in a notebook.
If the previous owner left a stack of paper manuals on the kitchen counter, punch holes in them and put them in a three-ring binder. If they took the manuals, search online for the model numbers and save the digital guides to a folder on your computer. You will need these to order replacement water filters for the fridge or figure out what a blinking light on the dishwasher means. Keep any receipts for hardware and paint you buy during the first week.
Draft a list of early repairs and wait on the rest
A new house always comes with a long list of projects, but you cannot tackle them all at once. Divide your notepad into urgent fixes and future ideas.
Put safety and keeping the weather outside first, so a leaking gutter, a loose porch railing or a running toilet belongs on the urgent list. Fix these problems over your first couple of weekends. Adding weather stripping to a drafty front door is a small first fix. Getting a few early home improvements out of the way builds your confidence.
Put the cosmetic projects on the future list. Painting the living room, ripping up old carpet or planting shrubs can wait a few months. Living in the house shows you how the sunlight moves through the rooms and where you naturally walk. That ugly dining room light fixture might stop bothering you once you arrange your furniture around it.
Focus on unpacking your boxes, meeting the neighbors and learning the trash schedule.
More from down the street
8 first home improvements worth doing in year one
Find out which first home improvement projects to tackle in year one to protect your house, cut energy bills and make daily life easier.
Is a first time homeowner class worth taking
A first-time home owners class is worth taking to understand the buying process and your finances. Learn what a HUD approved course covers and costs.
What a home inspection covers for a first time buyer
A first time home buyer home inspection uncovers major issues with a house before closing. Learn what it covers, extra tests to run and how to use the report.