Final walkthrough before closing and what to test in each room
Grab your new house walkthrough checklist and test every room before closing. Learn what to bring, what to check, and how to handle missed repairs.
 Reported by Jolene Imhoff
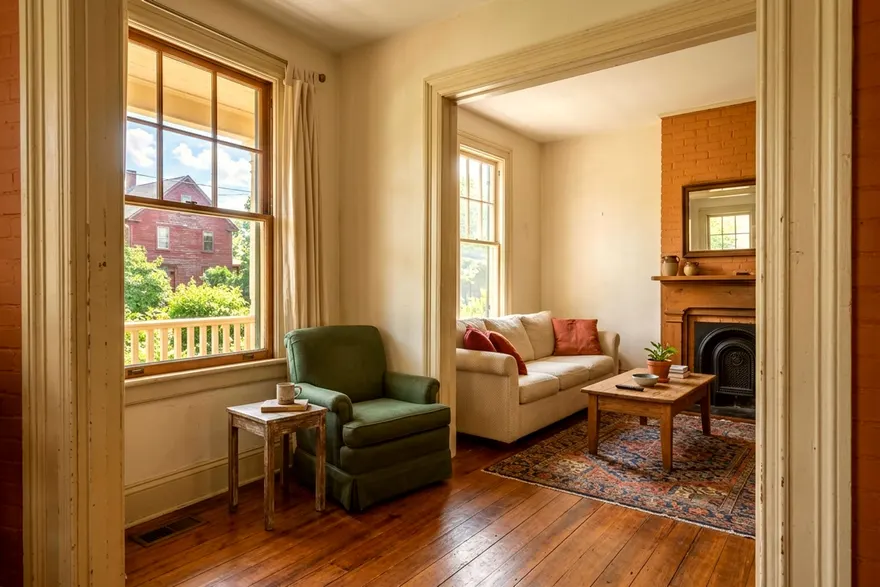
Your new house walkthrough checklist is your final chance to confirm the property is exactly as you agreed before signing the papers. Plan to spend an afternoon walking from room to room to test every system and verify the seller made the promised repairs.
When to schedule the final walkthrough
The walkthrough typically happens shortly before closing. It makes sense to schedule it after the seller has moved out so you can see the bare walls and floors. A seller moving out can accidentally scratch a wood floor or punch a hole in drywall with a heavy sofa. Seeing the empty house helps you catch any damage caused during the move.
A standard house takes an afternoon, so you can test everything without feeling rushed. Try to do the walkthrough during daylight hours. Natural light makes it much easier to spot a stain on the carpet or a crack in a window pane.
What to pack for testing the house
A paper copy of your purchase agreement is your most valuable tool. You need it to reference the exact terms of the sale.
- A paper copy of your purchase agreement and the list of agreed repairs
- Your home inspection report to check against the current condition
- A phone charger to test the electrical outlets in every room
- A strong flashlight to look under sinks and into the basement
- A small notebook and a pen to write down any problems you find
Keeping a list on paper is often faster than typing on a phone while holding a flashlight. Skim a move in checklist before you go, since the first week in the house starts right after closing.
Confirming the agreed repairs are finished
The CFPB says to make sure everything you and the seller agreed would be repaired has been repaired before closing. Stand in front of each fixed item and confirm the work is complete.
If the seller agreed to fix a leaking pipe under the kitchen sink, open the cabinet and feel the pipe trap for moisture. If the contract called for new roof shingles over the garage, walk outside and look at the roof line. Ask your real estate agent to get the receipts and warranties for any professional work. A receipt shows who did the work and what was done.
Checking that included items are still there
The purchase contract lists the appliances and fixtures that stay with the house. The CFPB says to check that anything the seller agreed to leave in the house is in place, and to contact the seller immediately if it is not.
A seller might accidentally pack a custom window blind or a dining room chandelier that was written into the contract. Check the kitchen for the exact refrigerator and oven you saw during the showing. Sometimes a seller swaps a high end washing machine for a cheaper model right before moving out. Read the brand names off your contract and match them to the machines in the laundry room.
Look outside as well. If the contract says the garden shed and the patio furniture stay, walk into the yard and make sure they are sitting exactly where they belong. Count the garage door remotes and look for any smart home hubs that control the thermostat or the security cameras.
Testing the plumbing and climate control
A house that looked fine during the inspection a month ago might have developed a new problem. Start your active testing in the kitchen and the bathrooms. Turn on every faucet to see if the hot water runs hot and the cold water runs cold.
Flush every toilet and wait to hear the tank stop filling. Look at the base of the toilet and under the sinks for pooling water. Turn on the showers and check the tubs for slow drains.
Running the kitchen and bathroom fixtures
Test the appliances that stay with the house. Run the dishwasher on a short rinse cycle while you check the rest of the kitchen. Turn on all the stove burners and the oven.
Open the refrigerator and the freezer to feel if they are cold. Turn on the exhaust fan over the stove and run the garbage disposal for a few seconds. Do not assume an appliance works just because it is plugged in.
Testing the heating and the air conditioning
The heating and cooling systems need a real test run. Turn the thermostat to heat, listen for the furnace to kick on, and feel the warm air coming from the vents in a few different rooms. Turn the heat off, wait a few minutes, and switch the system to air conditioning. Drop the temperature and verify cold air comes through the same vents.
Opening doors, windows and the garage
Turn every light switch on and off. Plug your phone charger into the wall outlets in every bedroom to confirm they have power. Open every interior door to make sure it latches shut without dragging on the carpet.
Walk to every window. Open the sash, see if it stays up on its own, and lock it again. Check for cracked glass or torn screens.
Walk into the garage and test the wall button. Watch the garage door travel all the way up and all the way down. Check the opener's label or manual for how to test the safety sensors, or ask a licensed garage door pro. You might also want to look at garage organization ideas while you stand in the empty space, measuring the walls for future shelves.
Inspecting the walls, floors and ceilings
Look closely at the interior surfaces of the empty house. Check the drywall for large gouges or holes left by moving heavy furniture. A few small nail holes from picture frames are normal wear and tear, but a cracked door frame is damage.
Look at the ceilings in every room, especially right below an upstairs bathroom. A new brown water stain can mean a pipe started leaking after your initial inspection. Walk across the carpets and look for large stains that were previously hidden by area rugs or beds.
Walking the exterior and the property line
Start your walkthrough outside before you even open the front door. Walk the perimeter of the house and look at the foundation and the siding. A heavy rainstorm might have washed away topsoil or blown off a piece of vinyl siding since your inspection. Check the gutters to confirm they are still firmly attached to the roof edges.
Walk into the backyard and check the fences and the gates. Make sure the seller did not dig up and remove any shrubs or small trees that were supposed to stay. Look for any new piles of branches or trash bags left behind the garage. You can think about planting ideas for the bed in front of your porch while you confirm the front yard is clear of junk.
What to do if you find a problem
Stay calm and document the problem. Take clear photos of the damaged wall or the missing washing machine. Call your real estate agent right from the house to report what you found so they can contact the seller for a solution.
Small problems often have simple fixes. A seller might bring back a taken item that same afternoon. They might hire a cleaner to come the next morning to remove a pile of trash left in the basement.
Larger issues take more time. If a furnace breaks or a roof leaks down the wall, ask your agent whether closing can be delayed until the repairs are made. Another option is asking the seller for a credit, which the CFPB describes as money toward closing costs. Your agent can explain any other options your contract allows.
How the closing disclosure fits the timeline
While you schedule the walkthrough, your financial paperwork arrives on a separate track. Your lender must give you the Closing Disclosure at least three business days before you close on the mortgage, per the CFPB.
The CFPB says the three-day window lets you compare your final terms and costs with your Loan Estimate and ask your lender questions.
More from down the street
8 first home improvements worth doing in year one
Find out which first home improvement projects to tackle in year one to protect your house, cut energy bills and make daily life easier.
Is a first time homeowner class worth taking
A first-time home owners class is worth taking to understand the buying process and your finances. Learn what a HUD approved course covers and costs.
What a home inspection covers for a first time buyer
A first time home buyer home inspection uncovers major issues with a house before closing. Learn what it covers, extra tests to run and how to use the report.